Upload Files from the Desktop
The Upload to Print or AdHoc module, allows you to upload files from your desktop before choosing printing/finishing options and then submitting the files for print production.
Overview
The Upload to Print page is reached by clicking the Upload icon displayed when you initially log in to ContentWelder. Refer to the red arrow shown in the screen shot below.
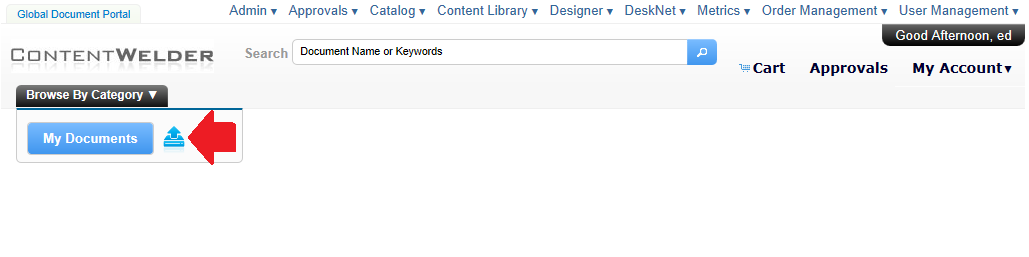
Once the Upload button is clicked, the user will be redirected to the Upload page, as shown below.
Uploading Files from the Desktop
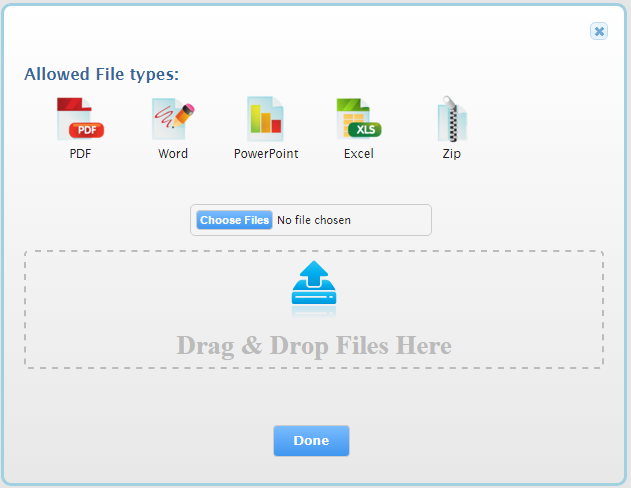
To upload files to ContentWelder, users can either drag files from their desktop into the Drag & Drop Files Here box, or click the choose files button to select the files that will be uploaded. Users can upload multiple files simultaneously.
Supported File Types
The following file types are supported:
- Adobe PDF
- Microsoft Word
- Microsoft PowerPoint
- Microsoft Excel
- Zip files
Note: Files in the zip must meet the accepted file formats shown above, otherwise the files are not supported.
Post Upload
Once you have dragged your files into the upload box, ContentWelder automatically begins uploading the file(s) and your screen will be updated to resemble the screen shot below. Don't worry if you've uploaded the wrong file, you can always upload additional files at later time.
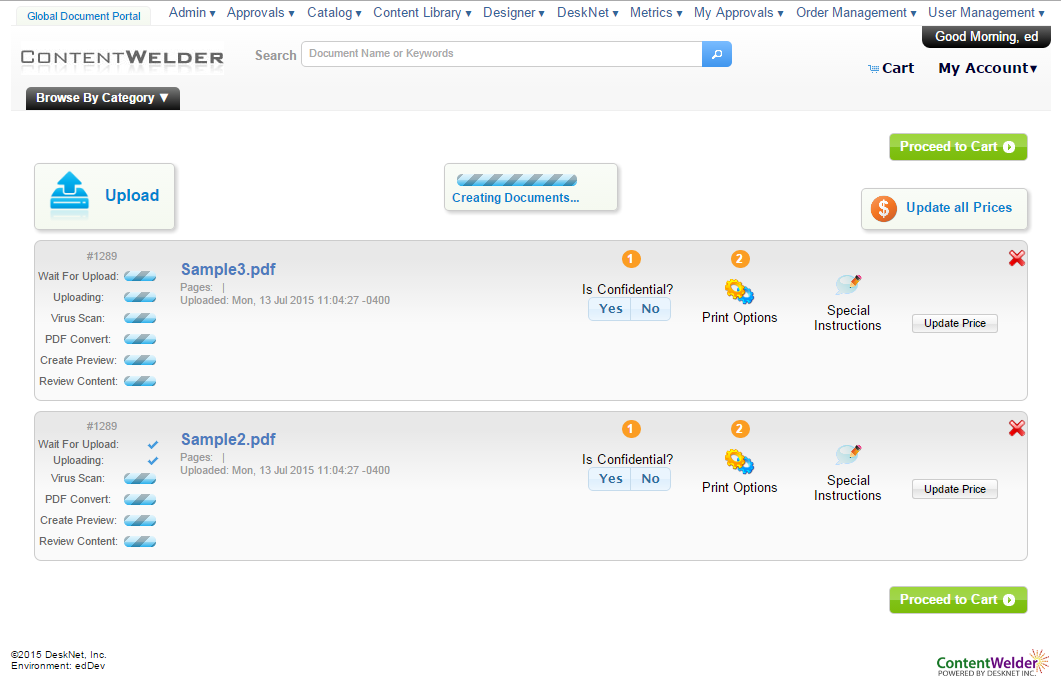
You will see progress indicators for your files as they are processed, as shown above. In this case, two files were uploaded.
- If the file is rejected by ContentWelder, warning indicators will be displayed so that you can take corrective action as shown in the screen shot below.
- The progress bar reflects the step in the process your files are currently in.

Upload Complete
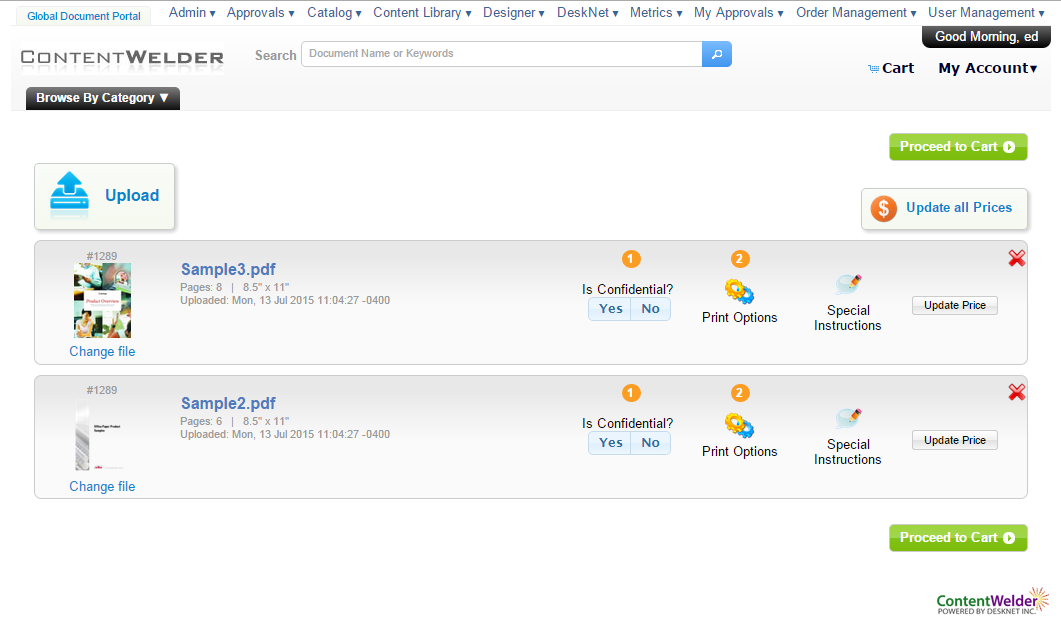
Upon completion, the progress bars are replaced with thumbnails of your files as show below.
Configure Uploaded Document(s)
Once a document has finished uploading, you can now configure it as described below.

| Field | Description | |
| 1 | Is Confidential? |
Select "Yes" if document being uploaded is confidential or contains confidential information. Note: Documents marked as "Confidential" may impact your delivery or pickup options during the checkout process. |
| 2 | Print Options |
Specify the print/finishing options for this document. Refer to the Choosing Print Options for additional information on how to set your options. |
| 3 | Special Instructions |
If you don't find the exact print options you're looking for, use this option to provide custom directions to the print operators. Note: IMPORTANT: Applying any special instructions means that ContentWelder will not be able to provide a price as a manual review step is necessary. |
| 4 | Update Price |
This option is only available once you have configured Print Options. This will button will attempt to get an updated price based on your selection. |
| 5 | Change File | Use this button if you want to swap out a file you previously uploaded with a new one. |
| 6 | Delete | Delete the selected document. |
Complete Configuration of the Uploaded Document
Once you are finished with your uploaded documents and their configuration, click the Proceed to Cart button to complete the checkout process.
Access Previously Uploaded Documents
In order to access any documents you previously uploaded and submitted, you must go to the Order History page. The upload to print/Ad Hoc page only displays items that have been uploaded but not submitted yet.
Next Steps?
Head on over to Choosing Print Options to become familiar with the steps needed to complete the Upload Files from Desktop process.
Needed Entitlements
The following entitlements must be granted to users to interact with the Upload To Print module.
- AdHoc Order
- OrderItem Edit
- OrderItem MoveToCart
- OrderItem Delete
- OrderItem SaveForLater

©2022 DeskNet Inc.
Proprietary and Confidential Information